Hi there! My name is Krystle and I am the new retail manager for Cascade Organic. I am excited to join this company because I am passionate about feeding my community the freshest local seafood, meat and organic produce that is available on the market. When you order with us, you are giving directly back to your community and ensuring that our farmers, foragers and fishermen are all earning fair wages. In my previous position, I spent over ten years as a customer service manager for Whole Foods Market, there I learned the ins and outs of the natural and organic retail food industry. I am confident that my passion and experience will help me expand the growth of this great company, in a great way! If you have any questions, please contact me at krystle@cascadeorganic.com.
Our Cascade Box bi-weekly subscription is unlike any other because we include a wild foraged item that isn’t found in grocery stores. We also include a recipe with how to prepare it, written by local chefs! Every month we’ll be posting an article in this paper and providing you with valuable tips, tricks and tactics for you to use at home. This month we want to teach you how to transplant tomato plants.
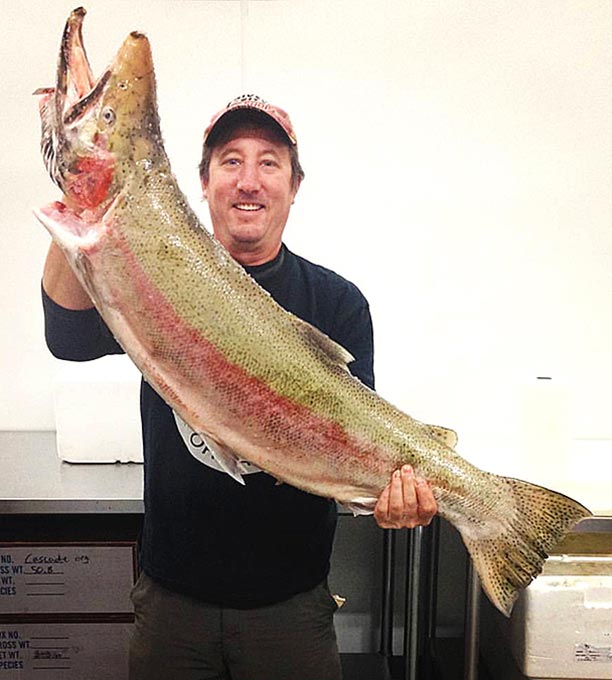
Jeff’s Strategy for Tomato Planting
Planting young tomato plants is simple, fun and will provide a tasty harvest in Oregon in late summer and early fall. Below is some key information for the Oregon home gardener.
- Choose tomatoes that have a maturity date of fewer than 100 days from initial seeding. (Some of the best are Eastern European and Russian Varieties.)
- If you are buying starts you want to make sure they are in 1-gallon pots or larger prior to final planting. If you start from seed that means 2 transplants.
- When transplanting, each time, always remove the initial and lower branches. This is best done by pinching. Do not tear or cut. The idea is to seal the wound when removing.
- Dig a hole at least twice the size of your root base.
- Plant your tomato up to the lowest branch that is not removed. The stem will then produce additional roots making your plant stronger and able to feed on more nutrients.
- Water the roots well before filling in the hole.
- Fill the hole with loose soil and mound just a bit to allow for settling.
- One final watering on top.
- Tomatoes are best planted at least 2 feet apart.
For more information feel free to contact Jeff at jeff@cascadeorganic.com.